Outdoor Christmas Light Installation Tips: Simple Ways to Make Your Home Shine This Season
- Nov 10, 2025
- 3 min read
November is that time of year when the evening air turns frostier, and rooftops and porches begin to sparkle with the first strings of lights.
You look around — and somewhere inside, that familiar feeling of the holidays starts to awaken. Then comes the thought: maybe it’s time to add a little light to your own home too.
To make things easier, we’ve put together a simple guide to outdoor Christmas light installation — from choosing the right type of lights to creating a beautiful and safe display.

Choose the Right Outdoor Lights
The first thing to check when buying lights is whether they’re rated for outdoor use.
Not every pretty box on the shelf can handle snow, rain, and freezing temperatures, so look for the proper markings.
On the package, find these two labels:
Outdoor rated — suitable for outdoor use and protected from moisture and temperature changes.
UL listed — tested for safety and compliant with quality standards.
Outdoor-rated lights have thick insulation, sealed connections, and durable wires that won’t crack in cold weather.
LED vs. Incandescent: Which to Choose?
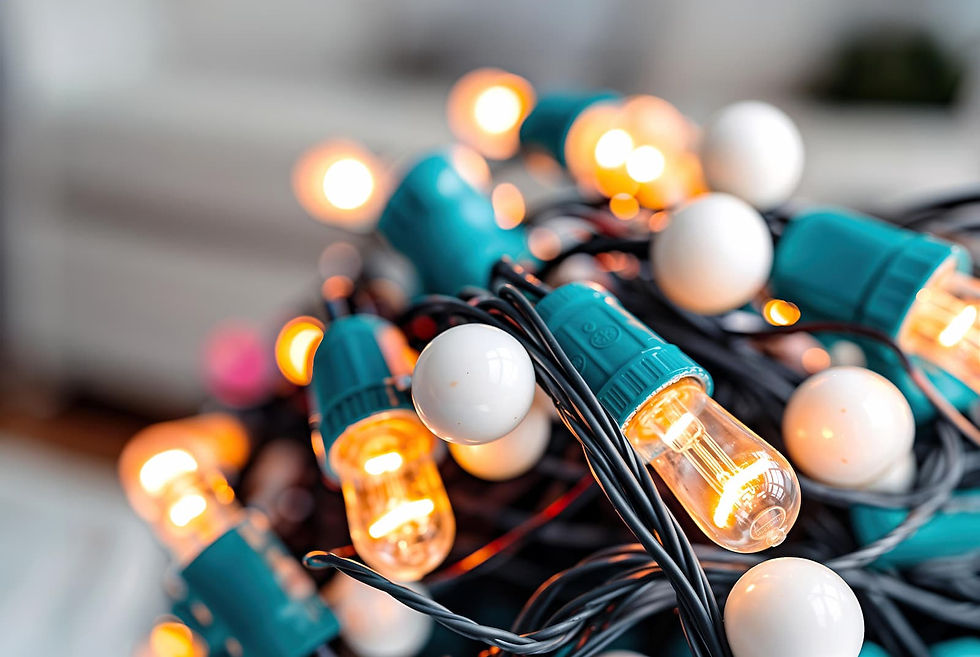
Your choice of bulb type affects not only the look but also how long your lights will last.
LED lights use less energy, stay cool to the touch, and last for multiple seasons. Their glow is clean and consistent.
Incandescent bulbs offer a soft, nostalgic warmth but burn out faster, heat up more, and consume more electricity.
Pro tip: For rooflines, facades, or large displays, go with LED lights — they’re safer, more durable, and far more energy-efficient, especially for nightly use.
Measure Before You Buy
Before heading to the store, decide what exactly you want to illuminate — the roofline, entryway, railings, or columns. Use a tape measure to get accurate lengths.
If the strand runs in a straight line (like along the roof), add 10–15% extra to your total length — this allows for corners and connections.
If the strand wraps in a spiral (around railings or columns), you’ll need about 1.5 to 2 times the actual length of the structure.

Prep Before You Climb
Before going up the ladder, take a few minutes to prepare. These simple steps can help you avoid short circuits, overloads, and frozen fingers later.
Check the packaging
It usually tells you how many light strings can be safely connected end-to-end. If it doesn’t, follow this rule of thumb: up to 3 incandescent sets or 15 LED sets per outlet.
Test the strands first
Lay them out on the ground, plug them in, and make sure every bulb works. It’s easier to replace one bad bulb now than on the roof in freezing weather.
Start the installation near the outlet
It helps you manage the cable length better, avoid unnecessary connections, and keep the layout organized.
Use plastic clips
They hold the lights securely without pinching or damaging the wires. Avoid metal fasteners — they can cut the insulation and cause shorts.
Protect all connections from moisture
Even outdoor-rated lights are most vulnerable at the joints. Use tape, silicone caps, or plastic wrap to keep out rain and snow.
Plug into weatherproof outlets only
Don’t use old or indoor extension cords — they’re not safe for outdoor conditions.
Design Tips for a Balanced Look

Don’t outline the windows — focus on the roof and entryway instead
When the lights are on inside, windows already cast a warm glow and naturally draw attention. Adding more lights around them only competes with that effect and makes the facade look cluttered.
It’s much more elegant to highlight the roofline and entryway — for example, along porch railings or steps — to give your home a clean, balanced look.
Stick to one shade of white
White lights come in warm, neutral, and cool tones. Mixing them makes the display look uneven and messy. Pick one temperature and keep it consistent across the house for a neat, cohesive look.
Choose the right bulb size for each area
Larger bulbs like C7 or C9 work best along the roofline or around the main facade — they’re bright, easy to see from a distance, and create a clean, defined outline.
For railings, shrubs, or the front porch, go with mini LEDs — their softer glow helps accent details without making the display look heavy or overdone.
Remember: big bulbs emphasize the architecture, while small ones bring out the details.
The Final Touch on Outdoor Christmas Light Installation
A great outdoor light display is a mix of durable materials, thoughtful planning, and safe installation. Paying attention to details at every step — from choosing the right lights to creating a beautiful and safe display — ensures your setup looks clean and lasts for seasons to come.
And if you’d rather have everything done safely and beautifully from the start, the Tools & Hands team is ready to help. Request your free estimate on our website — and let’s make your home shine this holiday season.


