How to Caulk Like a Pro: A Simple Homeowner’s Guide
- Oct 14, 2025
- 3 min read
Tiny gaps around windows, tubs, or trim might seem harmless — until they let in cold air, moisture, or even mold.
The good news? You don’t need to hire a contractor to fix it.
Here’s a simple, step-by-step guide on how to caulk like a pro — and keep your home warm, dry, and protected.

1. Choosing the Right Caulk for Each Area of Your Home
Where to Use | What to Look For on the Label | Why It Works Well | Typical Product Examples |
Indoors (baseboards, trim, walls) | “Acrylic” or “Latex Caulk” — Paintable | Easy to apply and clean, can be painted over, good for dry indoor areas | DAP Alex Plus Acrylic Latex Caulk |
Bathroom & Kitchen | “100% Silicone” + “Kitchen & Bath” + “Mold Resistant” | Fully waterproof, protects against mold and mildew, ideal for wet areas | GE Advanced Silicone 2 Kitchen & Bath Sealant |
Exterior (windows, doors, siding) | “Exterior Grade” + “Silicone” or “Polyurethane (PU)” or “Hybrid” | Weather- and UV-resistant, flexible, handles temperature changes | OSI Quad Window, Door & Siding Sealant |
Moving or expanding joints | “Elastomeric” or “High Movement / Flexible Sealant” | Designed to stretch and compress with building movement, won’t crack | DAP Extreme Stretch Elastomeric Sealant |
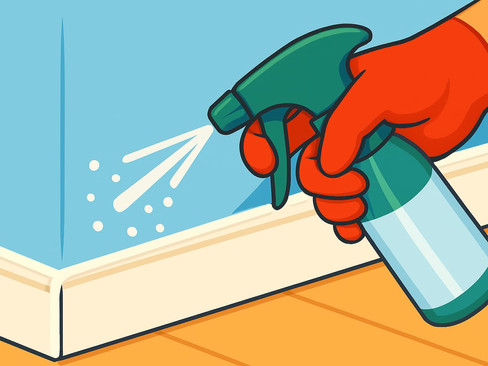
2. Prep the Surface — It’s 80% of the Job
Caulk sticks only as well as the surface beneath it.
Before applying:
Cut and remove the old caulk.
Clean away dust, dirt, grease, or mold.
Dry the joint completely (a hair dryer works well).
Wipe with alcohol or a clean prep wipe.
⚠️ If the surface is damp or dirty, your caulk will peel off fast.


3. How to Apply the Caulk
Once the surface is clean and dry, it’s time to apply the caulk. Follow these steps for a smooth, even bead:
Use a caulking gun to keep the flow steady and easy to control.
Cut the tip at a 30–45° angle so the nozzle guides the bead into the joint.
Hold the gun at the same angle and start from one end of the joint.
Move slowly and evenly as you squeeze the trigger.
Keep the pressure steady — not too much, not too little.
Apply the caulk in one smooth pass for a clean, even line.
⚠️ The cleaner your first pass, the stronger and neater the seal will be.


4. Smooth It Out Before It Dries
• After applying the caulk, spray the line with soapy water (a window cleaning solution works too).
• Spray your caulking tool (or your finger) with the same solution to keep it from sticking.
• Gently run the tool along the joint in one continuous motion, pressing lightly to shape a clean, even line.
• Wipe the tool with a paper towel to remove extra caulk.
• If needed, repeat the process once more to fix the line — but don’t go over the same spot too many times.
⚠️ Don’t touch the caulk after 10–15 minutes. Once it starts to set, any correction will only make it worse.


5. Let the Caulk Cure Properly
After finishing the joint, let the caulk dry completely.
Drying time depends on the type of caulk — from a few hours to a couple of days.
Acrylic / Latex: 4–24 hours
Silicone: around 24 hours
Polyurethane: up to 48 hours
Always check the label for exact curing time and follow the instructions.
While it cures, don’t touch the bead and don’t let water get on it — especially in bathrooms and outside.
Once dry, acrylic caulk can be painted, but silicone can’t — so it’s best to pick the right color from the start.
For exterior joints, you can also add a waterproof coating for extra protection.
How to Caulk Joints — A Simple Step with a Big Impact
Careful caulking is a small job that brings big results.
Step by step — the right product, a clean surface, a smooth line, and proper curing time — all work together to create a strong, lasting seal that keeps out moisture, mold, and drafts.
A well-sealed joint means greater comfort and durability for your home.
Don’t want to deal with it yourself?
Our Tools & Hands team can take care of the caulking and sealing for you — fast, clean, and built to last. Schedule a free estimate today and keep your home protected for seasons ahead.


