How to Design a Cozy Fire Pit Area in Your Backyard: A Complete Guide for Chicago Suburbs
- Aug 1, 2025
- 4 min read
Creating a fire pit area isn’t just about warmth — it’s about crafting a mood, a gathering place, and a reason to stay outside longer. Whether you're sipping cider on a fall evening or hosting marshmallow roasts with friends, a well-designed fire pit space can transform your backyard into an all-season retreat.
This complete guide will help you build a beautiful, practical, and budget-friendly fire pit area — perfect for homes in the Chicago suburbs.
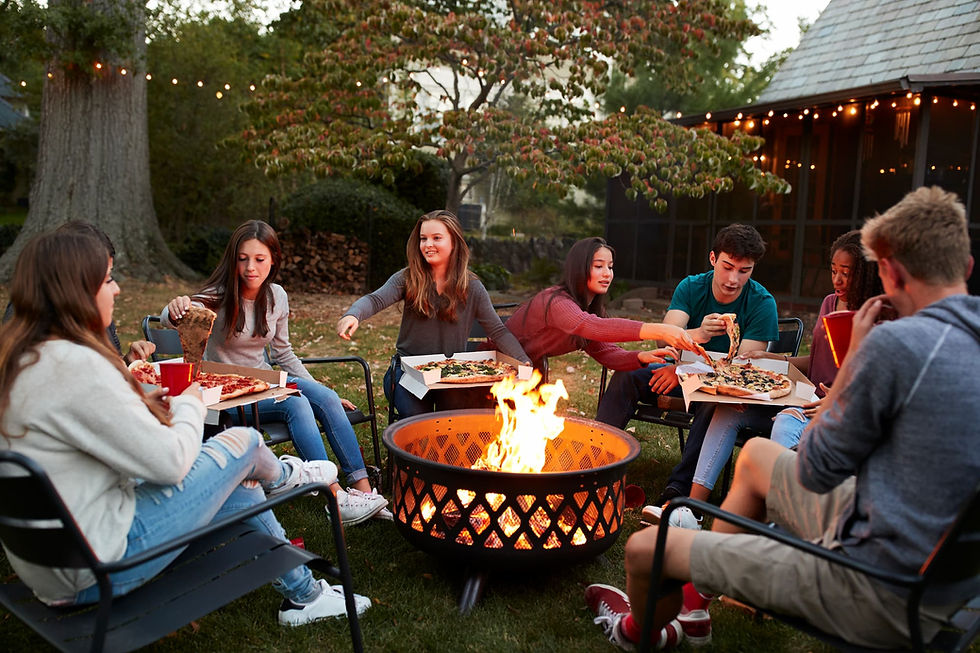
Why Build a Fire Pit Area?
A fire pit adds more than just ambiance. It’s one of the few backyard upgrades that brings both emotional and functional benefits:
Extends your outdoor season into spring and fall
Defines a gathering space without building walls
Encourages conversation and slows down screen time
Increases property appeal — even a small upgrade can boost resale value
And the best part? You don’t need a contractor or huge budget to make it happen.
Step 1: Choose the Right Spot
Before you shop for materials, take a walk around your yard and ask:
Is the area...
at least 10–15 ft from your home or any trees/shed?
free of overhanging branches or fences?
relatively flat and easy to access?
visible from inside the house or patio?
Pro tip for Chicago suburbs: Choose a spot that gets natural wind protection — especially important during breezy Midwest evenings.
Step 2: Choose Your Type of Fire Pit
There’s no one-size-fits-all. Here’s how to choose between the most common types:
DIY Concrete Block Fire Pit (Wood-Burning)
Inexpensive, durable, and permanent
Great weekend project
Total cost: $80–$150
Metal Fire Bowl (Portable, Wood or Gas)
Modern look, easy to move
Some models allow for gas hookup
Cost range: $70–$250
Gas Fire Table
Clean-burning, stylish, and low-maintenance
Requires gas line or propane tank
Cost: $200–$1000+
Don’t forget: Most suburban towns in Illinois require a spark screen or fire ring for safety. Always check local fire codes before building.

Step 3: Build Your Fire Pit Foundation
For a DIY stone fire pit:
Mark a circle (36–44 inches wide) with string and spray paint.
Dig 4–6 inches deep.
Fill the base with gravel for drainage.
Stack fire-rated retaining wall blocks in 2–3 layers.
Add a steel fire ring insert if desired.
For a fire bowl or chiminea:
Choose a stable surface (concrete pad, pavers, or gravel).
Add a heat-resistant pad under the unit if placing on wood or grass.
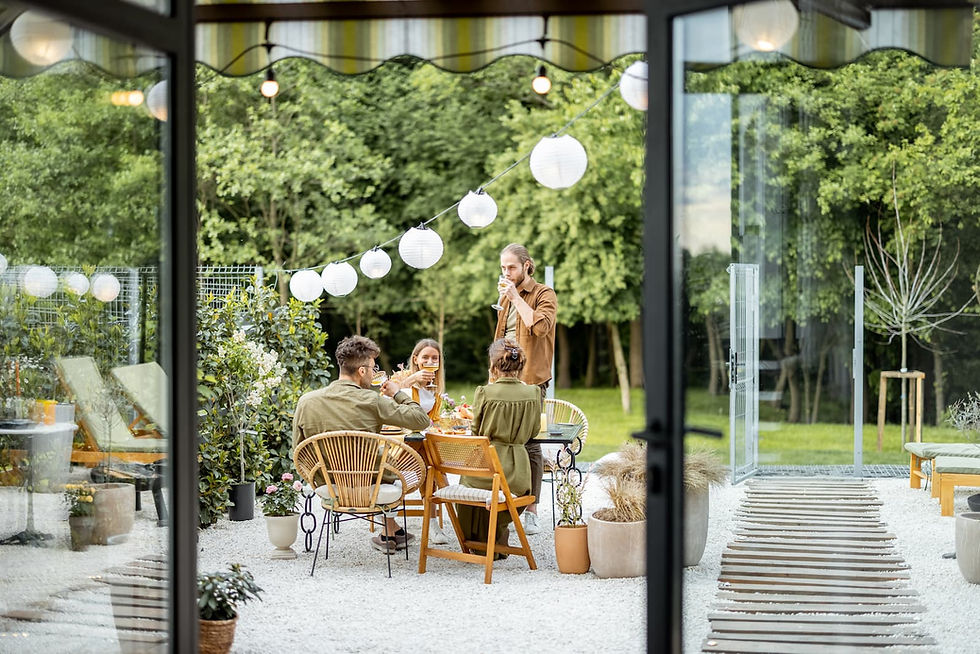
Step 4: Design the Surrounding Area
This is where the magic happens — when the fire pit becomes a destination.
Seating Ideas:
Classic Adirondack chairs (wood or poly)
Built-in benches from cinder blocks and wood
Moveable stools or cushioned ottomans
Ground Options:
Gravel or pea stone (cheap, drains well)
Paver patio (durable and polished)
Mulch with stepping stones (low-cost, soft)
Lighting:
Overhead string lights on posts
Solar lanterns along a path
Battery-powered table lanterns
Step 5: Add Comfort and Personality
The difference between “just a fire pit” and “outdoor living room” is in the details:
Weatherproof throw pillows
Cozy fleece blankets in a basket
Small side tables for drinks and snacks
Storage box for kindling and tools
You can also build a DIY firewood rack from leftover bricks or pallets.

Seasonal Tips for Chicago Suburbs
How to Enjoy Your Fire Pit All Year Long
Spring:Once the snow melts, your backyard might look a little rough around the edges. Sweep away leaves and debris, and give your fire pit area a good clean. If you used pavers or built seating, now’s a good time to reseal them. It helps protect against spring rains and extends the life of your setup.
Summer:Summer nights are perfect for sitting outside — until the mosquitoes show up. Keep citronella candles or bug-repellent lanterns nearby, especially after sundown. On breezy evenings, consider using smokeless fire logs to avoid getting smoked out when the wind shifts.
Fall:This is the prime season for fire pits — cool evenings, crisp air, and fewer bugs. Use it often while the weather lasts. Just make sure you have a heavy-duty fire pit cover for when it rains or temperatures start to drop at night. It’ll keep your setup dry and ready for the next gathering.
Winter:Yes, fire pits can work in winter too! Many metal bowls or chimineas are safe to use in cold weather. Just shovel a small area, bring out some Adirondack chairs and throw blankets, and sip something warm by the fire. It’s a surprisingly cozy way to enjoy your backyard — even when it’s 30°F outside.
Safety Checklist
Always keep a water source or fire extinguisher nearby
Never use lighter fluid or accelerants
Don’t burn trash, plastics, or pressure-treated wood
Keep seating at least 3 feet from the flame
Cover fire pits when not in use
Bonus: Looking for a Full Backyard Makeover?
Still building the basics? Start with our beginner-friendly guide: Backyard Makeover Ideas for Beginners: 7 DIY Projects That Actually Work
It covers lighting, seating zones, garden beds, and more.